
THE FIELD GUIDE / GUIDE
Deep Dish Dungeon Final Objective: Seed and Secret Ending
The main ending takes you to the Seed of Life: place the four food Gems on the statues beyond the fountain, offer a Deep Dish Pizza and push the sanctuary stand to reveal the Seed. The ending routes follow October 2026 player guides and reports; their exact builds and platforms are not specified.
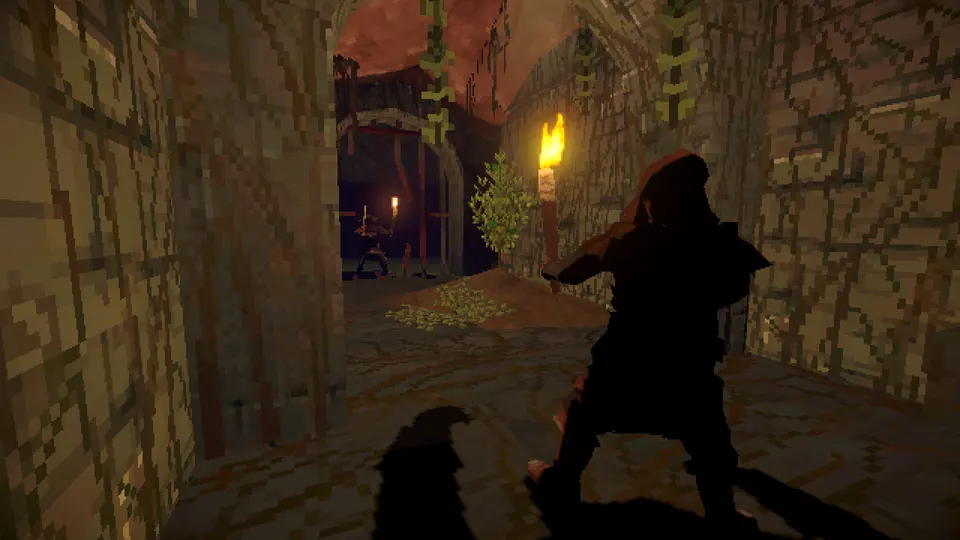
Bring the four Gems to the statues
The four plate-bearing statues are beyond the fountain in the marble ruins. Place the Bean, Corn, Guarana and Tomato Gems on them to open the door to the offering area.
| Gem | Where to look |
|---|---|
| Tomato | Defeat the Giant Spider at the end of the prison. |
| Guarana | Defeat the Giant Eel in the flooded sewer arena. |
| Bean | Descend to the bottom of the crypt. |
| Corn | Explore the upper dining-hall food rooms and the route behind the roots. |
Open the prison’s three-lever door · Find the Axe for root barriers
Offer the pizza and reach the Seed
Prepare a Deep Dish Pizza and place it on the offering plate beyond the Gem door. Push the sanctuary stand while dealing with the skeletons that appear.
- At the Cooking Table, combine Wild Corn and a Water Bottle into Corn Dough, then prepare the raw pizza with Corn Dough, Tomato and Cheese. Cook it in the Oven.
- Place the cooked Deep Dish Pizza on the offering plate and interact with the stand to move it forward.
- Continue pushing and fight the enemies. When the stand reaches the end, the floor lowers into a ramp and the Seed of Life becomes accessible.
- Interact with the Seed and choose whether to leave. DocNovak reports that after the credits the same save can be continued.
The separate secret-ending route
The secret ending uses a treasure-return checklist in addition to the main Seed route. Return the six gold treasures to the golden chest and put the other named treasures back at their reported locations, including the Queen Crown on the Queen’s skeleton.
Tbar666 reports that the collider warning is the cue to look in the blank room near the eel or serpent boss with a blue mushroom. Yamamaru Niki’s route places the hidden room on the right side of the eel arena.
Inside the hidden room, switch off the equipment, enter shutdown at the terminal and open the hatch. The cited route reports credits after leaving. Returning a single treasure does not by itself complete the whole checklist.
Find and use the golden chest · Find and return the Queen Crown
Treasure return checklist
Tbar666’s player checklist gives these destinations for the secret-ending route. Six separate gold treasures share the chest; the other entries each have a named destination.
The list identifies destinations, not a guaranteed immediate visual response for every individual item. Check the wider return set before looking for the hidden room.
| Treasure | Return it to |
|---|---|
| Gold Coins, Gold Nugget, Gold Bracelet, Gold Amulet, Gold Statue and Gold Talisman | The golden chest on the dining-table level. |
| Bird Statue | Its nest in the exploding-plant area. |
| Ceremonial Codex | The pulpit on the way to the observatory. |
| Medicine Bottle | The friendly ghost near the fountain and crops; use a Vision Potion to see it. |
| Diamond Ring | The hand protruding in the sewer boat area. |
| Ruby Necklace | The lower statue near the first skeleton room. |
| Queen Crown | The Queen’s skeleton behind the dining-hall golden door. |
| Silver Dagger | Its special room in the basement. |
| Cuica | The temple room in the mine. |
| Lantern | The observatory. |
| Ragdoll | The child skeleton. |
| Crystal Egg | The six-statue area at the bottom of the catacombs. |
Solve the six-statue route to the Crystal Egg · Track the achievement and treasure names
What this page covers
This is the final objective and its two reported outcomes. The routes to individual Gems, keys and puzzles are separate tasks; the final steps above do not require you to follow every optional detour in one fixed order.